
Baldur’s Gate 3 is definitely a fan favorite right now. Thanks to the number of quests in the game, players are spending hundreds of hours in the game already. If you’re interested in ways to slay goblins more efficiently, then chances are you’ll want The Blood of Lathander. So how can players acquire this powerful mace?
A series of puzzles sit between players and The Blood of Lathander, and players may have a hard time getting through. But luckily we’ve got some tips to share that can help ease your journey.
Watch What’s Trending Now!
Figure out the ceremonial weapon puzzle
Baldur’s Gate 3 doesn’t have any shortage when it comes to quests. There are tons of side-quests that will lead players on for hours before revealing the ultimate prize. Some quests require protecting the downtrodden, while others involve finding treasures like magic weapons..
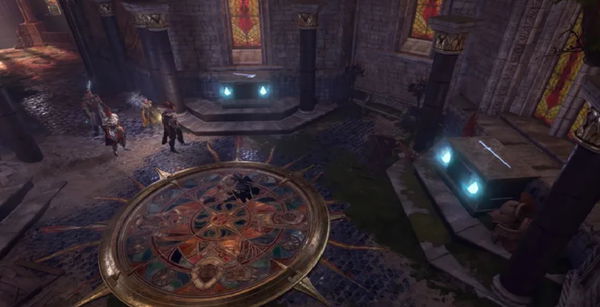
Players first start to believe that something may be found at Rosymorn Monastery, which sits atop of Githyanki creche. Standing at the courtyard, Lathander’s statue can’t be missed . Also, you will also find yourself in a puzzle room that has four pedestals in it.
To solve the puzzle, you’ll need to look around the Monastery to find ceremonial weapons. Each of the weapons have a specific pedestal to be placed upon, which you have to figure out from the stained glass window at the center of the room. However, in case you don’t have the patience to be vested in the puzzle for too long, we got you covered.

- The northwest pedestal will need a ceremonial warhammer. Search for it on the roof of Rosymorn Monastery inside the nest of the giant eagle. Climb the knotted roots outside of the room with the Guardian of the Faith to reach the nest. You might need to fall the eagles because they’re kind of hard to convince.
- The southeast pedestal can have any weapon on it.
- The pedestal on the southwest of the room needs a battle-axe, which you can find in another room with a Guardian of the Faith inside it. Exact location X-105, Y-45. S keep your guards up, as the Guardian of the Faith will fight you as soon as you get your hands on the battle axe. But the action will be short-lived.
- The northwest pedestal should have a longsword placed on it already.
Collect the Dawnmaster’s crest once you place each weapon on its designated pedestal.
Open the secret passage
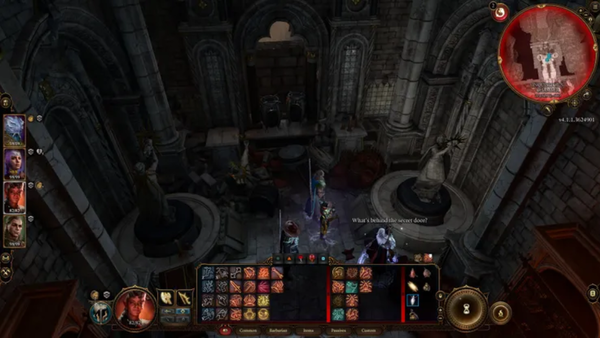
Once you got that done, you’ll have to get back on the sequence but keep your eyes out because the next step comes soon after. You’ll find that no matter how you deal with the Gityanku, you’ll have to reach the room to the north of the captain’s quarters. Once you’ve dealt with Ch’r’ai W’wargaz in the dilapidated room, head over the gap on the easter wall. There, if you have enough strength, you can interact with and win against the two statues. The DC is pretty high so you may have to try more than once to get that done.

Here you’ll need to rotate the statue on the north towards the way from you came and turn the other one to face the western wall. This will open up a secret new passage that will lead you to the to the next step.
The Daybreak Chamber
The passage will land you inside the Daybreak Chamber, an area where you have to overcome yet another set of obstacles.
In the first of these chambers, you’ll find the doorway blocked. To unlock it, break the blue crystals on the left side of the room with a few different moves. In the next chamber, you’ll have to stay sharp since a light emitting trap waits for you to make a mistake. To disarm the trap, you’ll need to make sure to have a DC14 sleight-of-hand prowess. Take the path to the left of the trap to find the next obstacle.

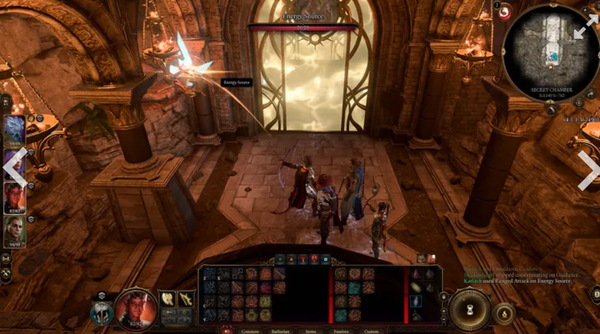
In this next chamber, disarm the Dawnbreaker trap, and no this is not where you use the Dawmaster’s Crest. The proceed to climb down the northern ledge and destroy the energy source crystals. Thus, you’ll finally reach the last room. Be prepared to find yourself admiring The Blood of Lathander in its true glory once you step in the final chamber. But hold your horses because it’s not a good idea to try and grab on it so soon.
Read more: From Barbarian To Monk- Know All The Classes In Baldur’s Gate 3
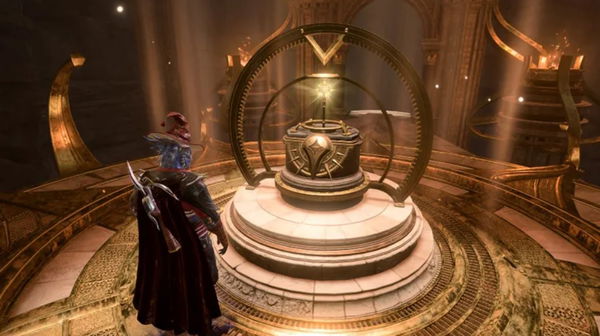
First, be sure to disarm the traps around The Blood of Lathander to get to it. Locate the levitating mace and interact with its control panel where you’ll get a prompt to insert something into a slot. Here, finally use the Dawnmaster’s Crest.
What you get
The Blood Lathander is a Legendary-tier +3 mace hovering above a pedestal surrounded with light. Along with standard mace stats, it also has:

Lathander’s Blessing
Use the weapon to regain 2D6 points instead of dying.
Lathander’s Light
A mace that can light the surroundings up with Holy Light; and,
The Sunbeam
A level-six dealing 6D8 radiant damage.
So that’s it. And now you can possess The Blood of the Lathander. Tell us how you’ll use it in your campaign in the comments below.
Watch this story: Developers Reveal Major Assassin’s Creed Mirage Details
Written by
Edited by

Rohan Karnad

